

Call Us Today For A Free Consultation: 615-525-8464
Laying tile is a practical and transformative way to upgrade your floors, walls, or countertops. Whether you’re updating a bathroom or enhancing a kitchen, mastering the tile-laying process will ensure a polished and durable finish. While it can seem like a daunting task, breaking the project into manageable steps makes it achievable for anyone with the right preparation and patience.
Before you begin laying tile, it is essential to start with a clean, flat, and stable surface. The quality of the subfloor or wall will impact the durability of your tile installation. If you’re working on a floor, ensure the surface is dry, smooth, and debris-free. Old tiles or wallpaper should be removed from walls, and imperfections like bumps or dips should be fixed.
Consider using cement backer boards for added water resistance in areas prone to moisture, such as bathrooms or kitchens. Once your surface is prepped, it’s time to measure the area and plan your tile layout. Dry-fit your tiles without adhesive to determine the best layout and reduce cutting. By adjusting the starting point, you want to minimize small or oddly shaped tiles at the edges.
With your layout planned, it’s time to apply the tile adhesive or thin-set mortar. Start by mixing the adhesive according to the manufacturer’s instructions. Using a notched trowel, spread a thin layer of adhesive onto a small section of the surface, holding the trowel at a 45-degree angle. The notches in the trowel help to distribute the adhesive evenly. Some homeowners choose to work with professionals like painting contractors in Nashville when combining surface prep with design upgrades, especially when transitioning from painted walls to tiled surfaces.
Be sure to apply only enough adhesive for a few tiles at a time, as it can dry quickly. Press each tile into place, gently twisting it to ensure a strong bond with the adhesive. For larger tiles, you may want to apply adhesive to both the back of the tile and the surface (a method known as back buttering) to ensure full coverage.
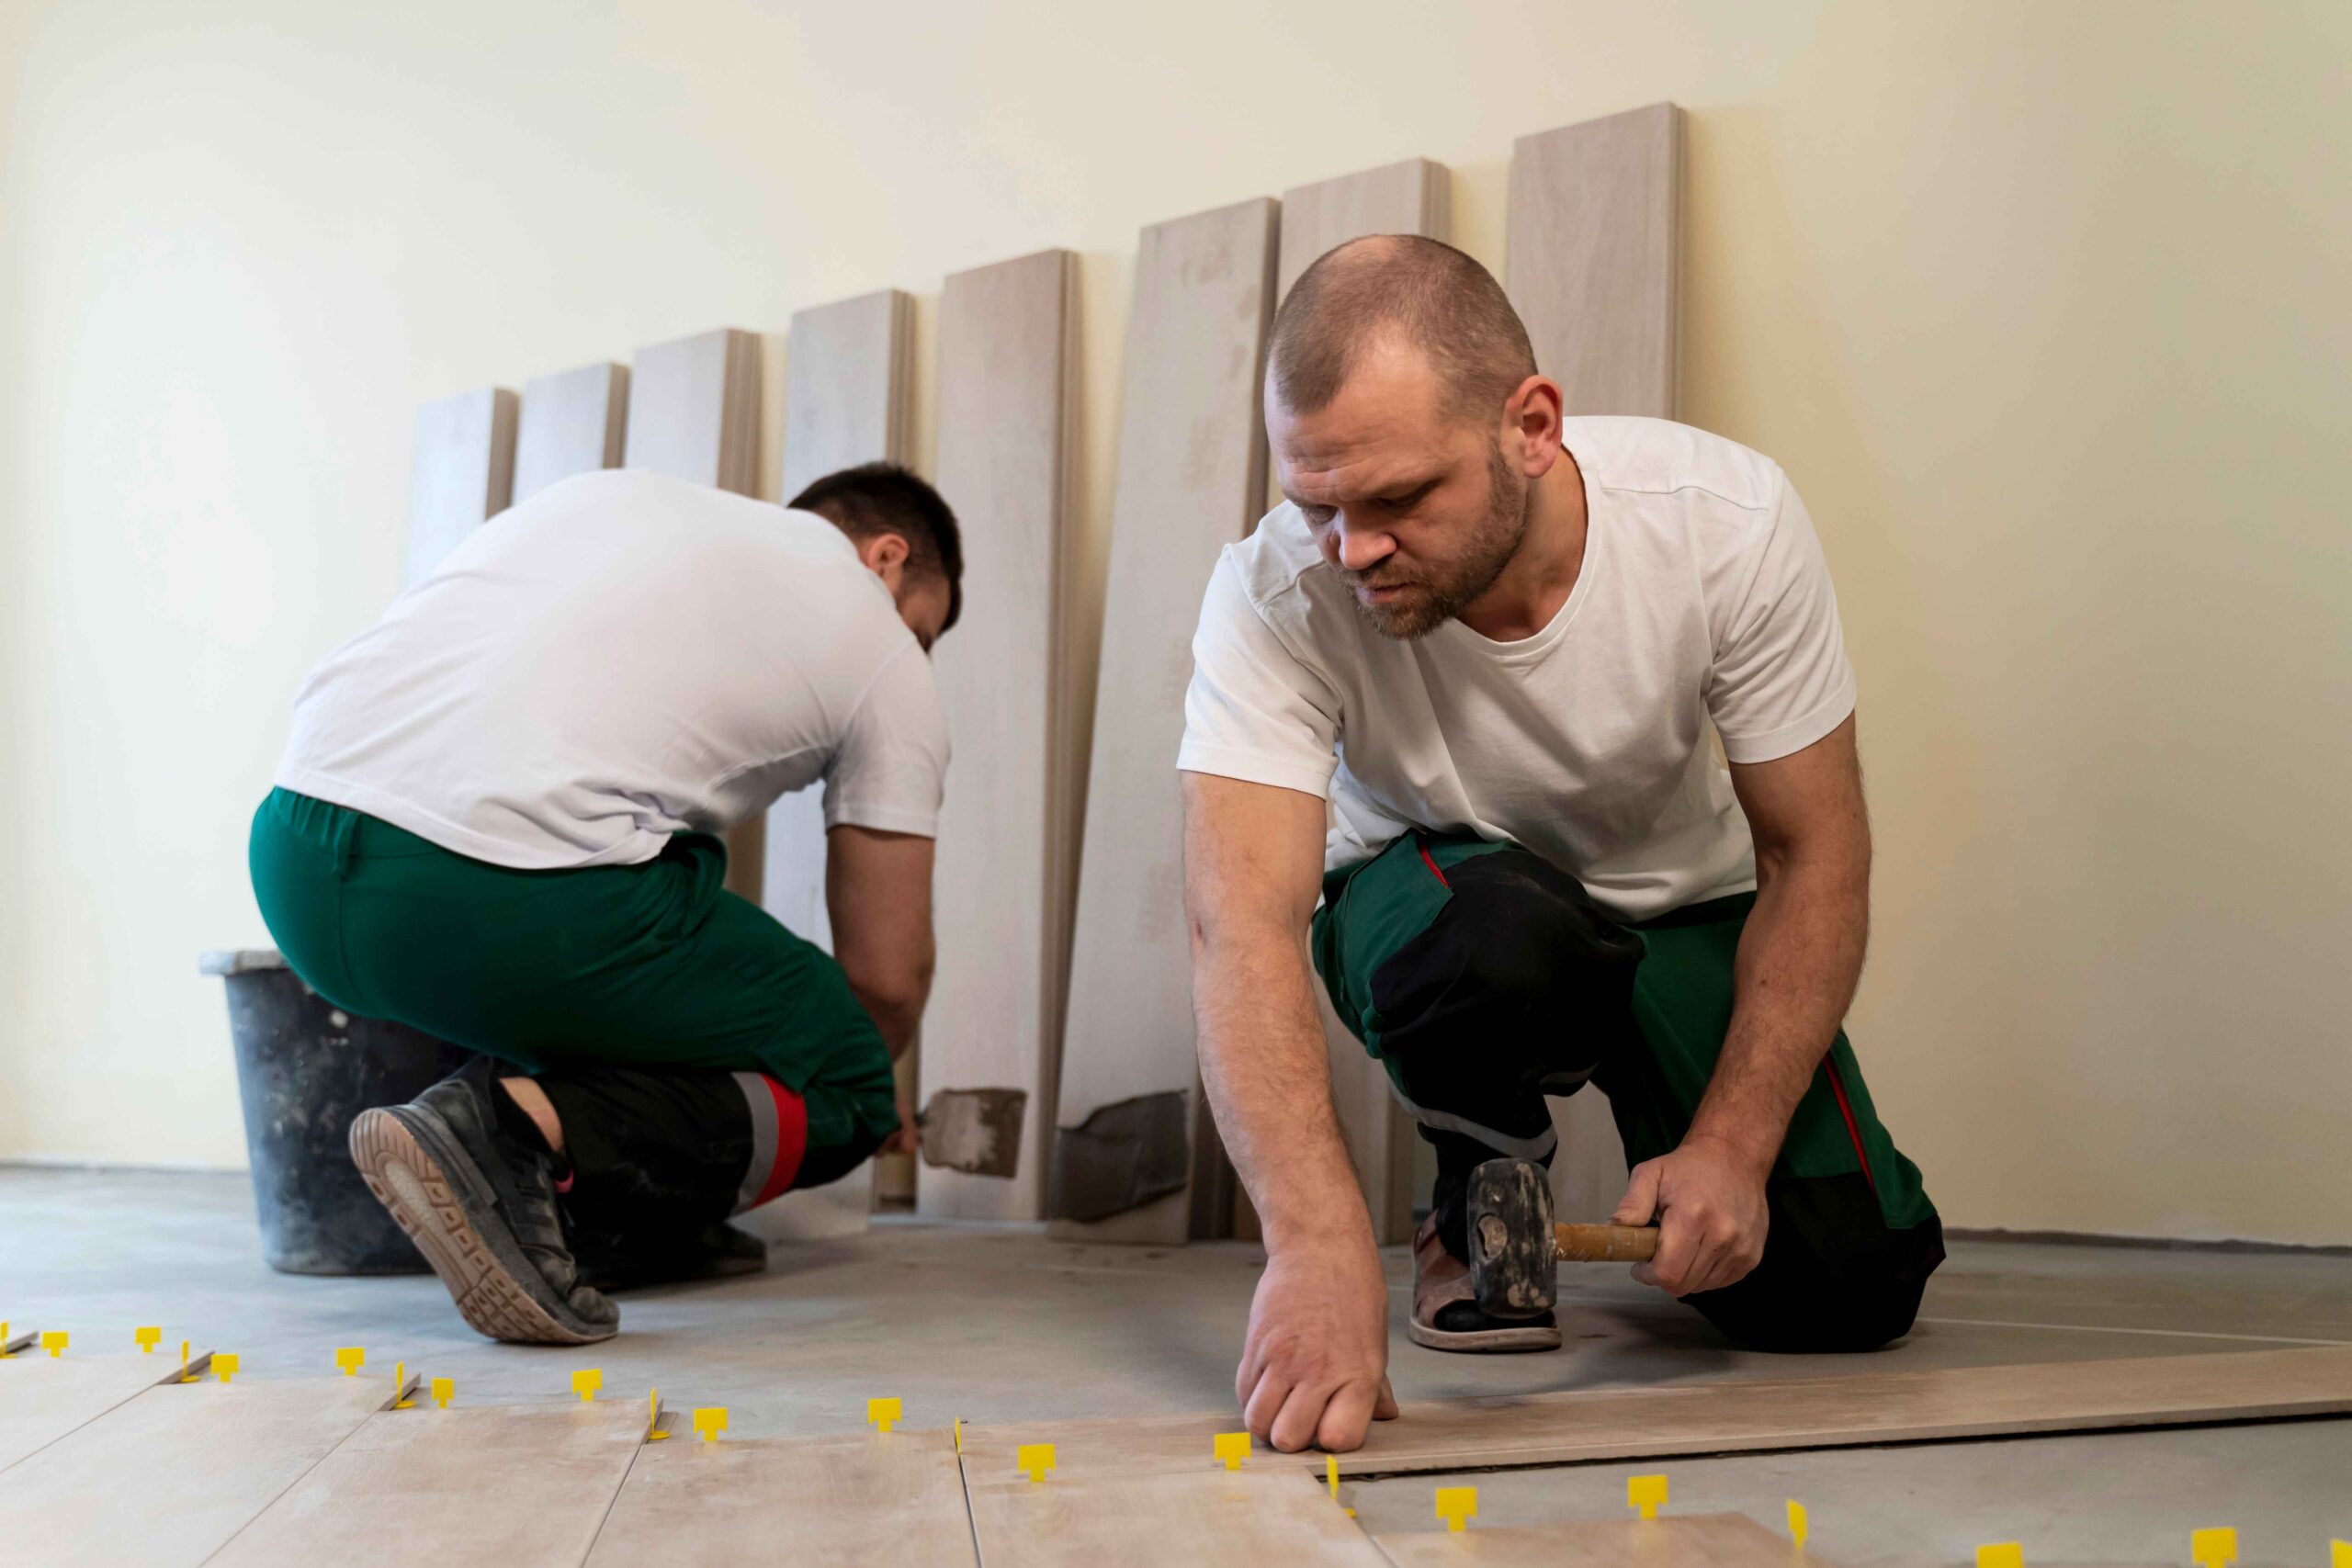
Now comes the actual laying of the tiles. Start from the center of the most visible part of the room or wall and work your way out. Place each tile onto the adhesive, pressing firmly. Use tile spacers to ensure even spacing between tiles, which will help maintain consistent grout lines and a professional finish.
Continue laying tiles in small sections, periodically checking that they are level using a spirit level. Make any necessary adjustments by gently tapping the tile into place with a rubber mallet or adjusting the amount of adhesive underneath. Wipe away any excess adhesive that may squeeze between the tiles, as this could interfere with the grouting process later.
As you work your way to the edges and corners, you’ll likely need to cut some tiles to fit. A manual tile cutter will do the job for straight cuts. However, a wet saw or tile nippers may be required for more complex cuts, like around pipes or fixtures. Always measure carefully and mark your tiles before cutting.
Take your time with cutting, as rushed or inaccurate cuts can ruin the look of your entire project. After cutting, smooth out any rough edges with sandpaper or a tile file to ensure a clean fit.
Once all the tiles are laid, allow the adhesive to dry fully. This typically takes 24 hours, but it’s best to follow the specific drying times recommended by the adhesive manufacturer. Avoid walking on or disturbing the tiles during this time; it could shift them and ruin your layout.
After the tiles have been set, remove the tile spacers and ensure everything is clean and properly aligned. At this point, you’re ready to move on to the grouting process to fill in the gaps between the tiles. This will seal and protect your tiles, giving the project a finished look. For more on grouting, check out our detailed guide on that process.
With patience, the right tools, and a clear plan, laying tile is a rewarding project that can significantly enhance any space in your home.