

Call Us Today For A Free Consultation: 615-525-8464
Removing vinyl flooring might seem challenging at first, but with the right preparation and tools, the process can be straightforward. Whether you’re upgrading to new flooring or simply removing old vinyl, understanding the steps involved can save you time and effort. If you’re seeking expert advice or assistance, consider contacting a local flooring company in Nashville, TN.
Before you begin, ensure you have the appropriate tools on hand. Essential items include a utility knife, floor scraper, pry bar, heat gun, and hammer. Safety should always be a priority, so equip yourself with gloves and goggles to avoid potential injuries from debris or sharp tools.
Start by clearing the room of all furniture and other obstacles to provide a clean workspace. Use a pry bar to carefully remove baseboards and trim, making it easier to access the edges of the vinyl flooring. Inspect the area for nails or screws securing the vinyl and remove them with a screwdriver or pliers to ensure a smooth removal process.
Using a sharp utility knife, slice the vinyl flooring into manageable sections. Cutting the material into strips that are six to twelve inches wide will make the removal process more efficient. This approach allows you to handle smaller pieces, reducing strain and preventing unnecessary damage to the subfloor.
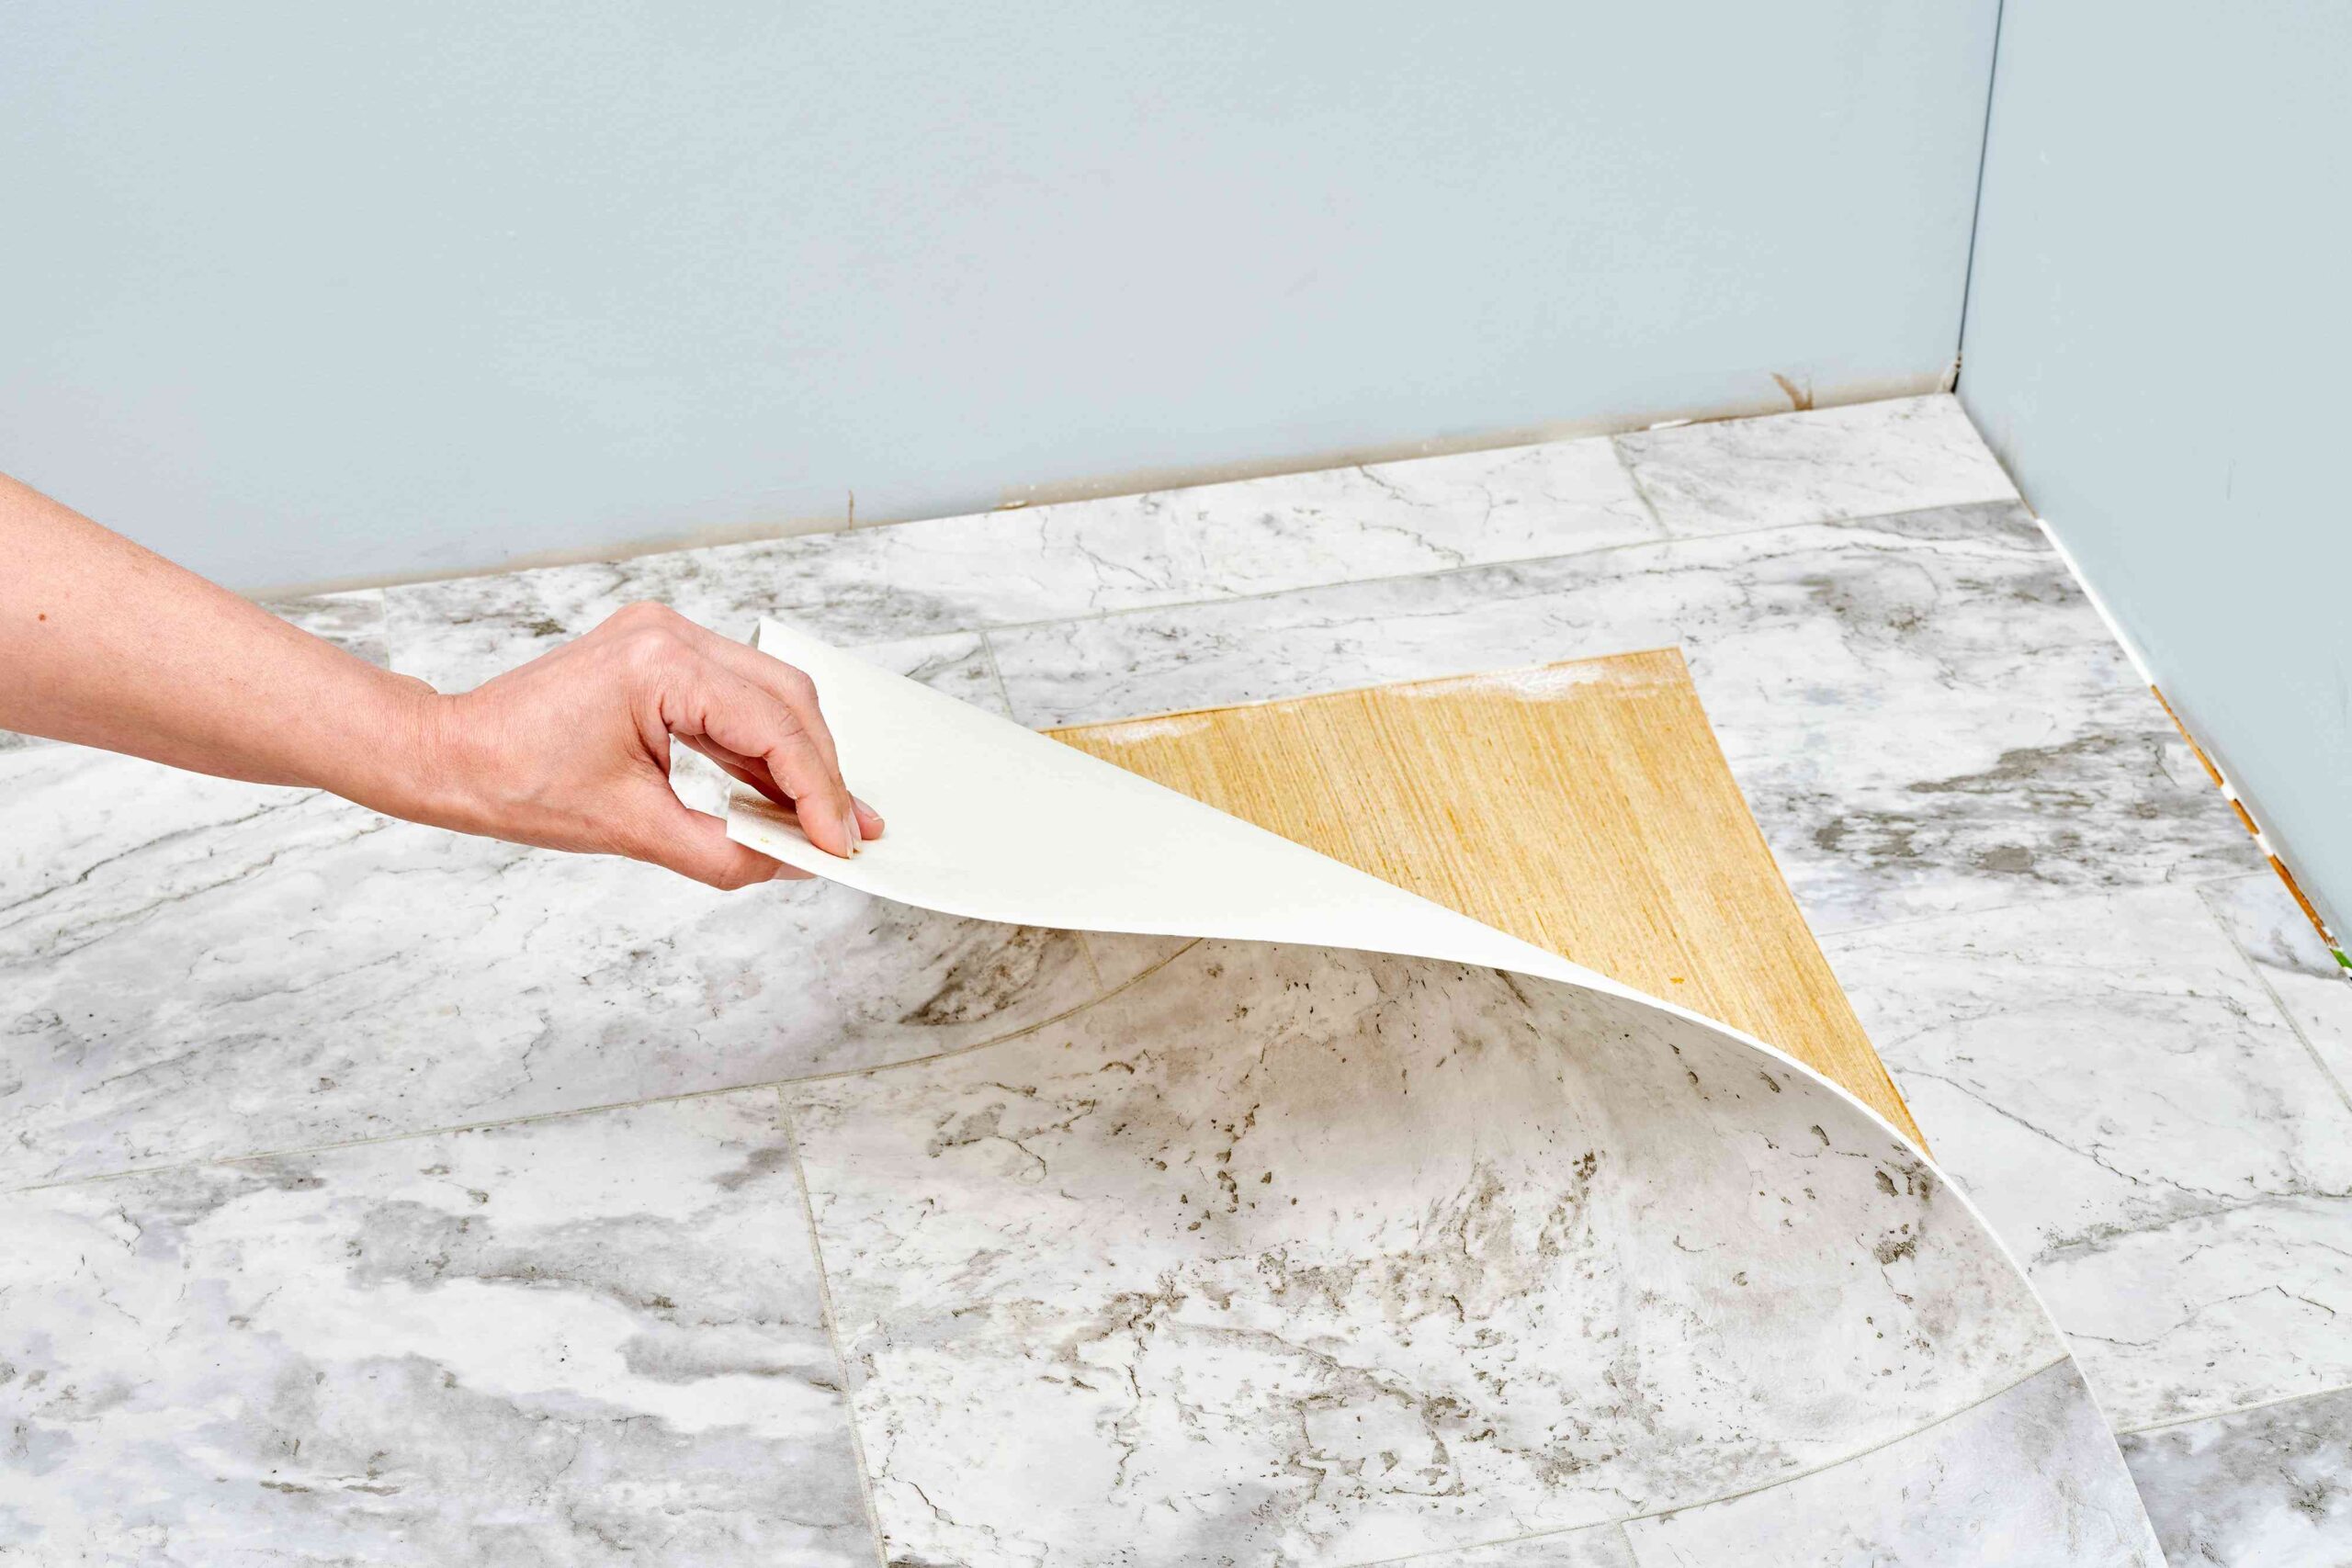
Begin at one corner of the room, using a floor scraper or pry bar to lift the edge of the vinyl. Work systematically, gradually loosening the material from the subfloor. If the adhesive proves to be particularly stubborn, a heat gun can be used to soften it. Apply heat to a small area, then scrape away the vinyl while the adhesive is warm and pliable.
After the vinyl is removed, it’s common to find adhesive residue on the subfloor. To remove it, use a floor scraper or apply an adhesive remover solution as needed. Allow the solution to sit for the recommended time before scraping off the softened adhesive. Take care to thoroughly clean the subfloor to prepare it for the installation of new flooring.
Once the flooring and adhesive have been removed, it’s important to dispose of the materials responsibly. Check with local waste management services for specific guidelines regarding vinyl flooring disposal. Some municipalities may require you to take the materials to designated recycling or disposal facilities.
Removing vinyl flooring can be a labor-intensive task, but with patience and the proper techniques, it’s entirely manageable. By carefully following these steps, you’ll be well-prepared to install new flooring and transform your space with a refreshed look.
Other Vinyl Plank Flooring Tips: