

Call Us Today For A Free Consultation: 615-525-8464
Installing hardwood flooring can elevate your home’s aesthetic, bringing elegance and warmth to any room. If you’re considering this project, Nashville, TN leading flooring services can provide the expertise and materials you need for a seamless installation. Whether you tackle the process yourself or enlist professional help, understanding the steps involved will prepare you to achieve exceptional results.
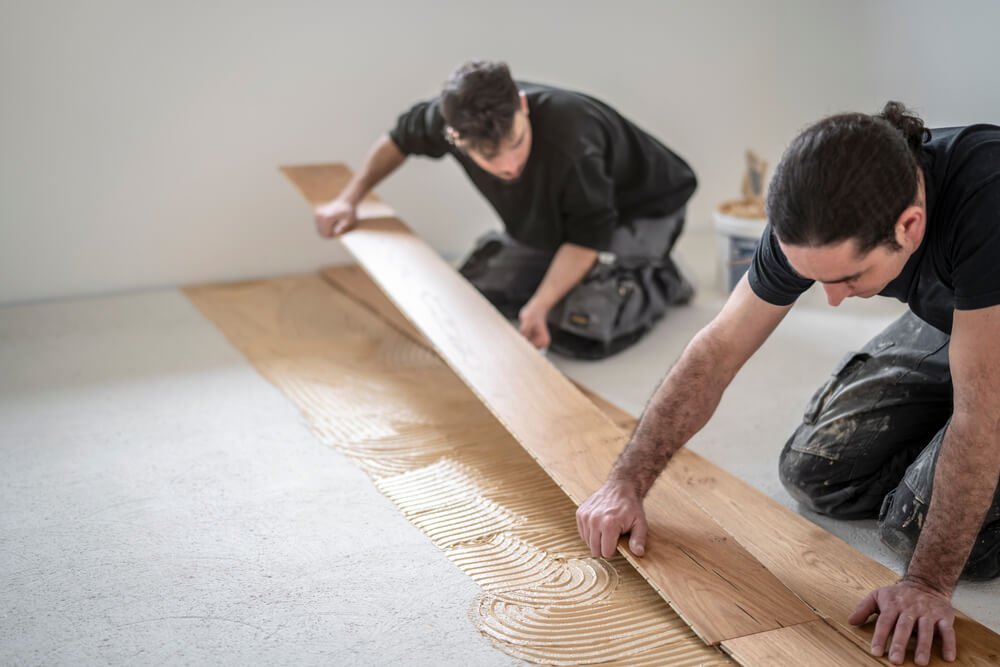
Before beginning, clear the room of furniture and any existing flooring. Inspect the subfloor to ensure it is clean, dry, and level. Remove baseboards and doors if necessary, as this will make installation smoother. Allow the hardwood planks to acclimate to the room’s temperature and humidity for at least 48 hours to prevent warping. Gather the necessary tools, including a tape measure, saw, nails, and a flooring nailer, to ensure the process runs smoothly from start to finish.
Decide the direction in which you want the hardwood planks to run. In most cases, planks are installed parallel to the longest wall, though you can choose an orientation that best suits your design preferences. Measure the width of the room to determine the number of full rows of planks required. Be sure to leave a small expansion gap (approximately 1/4 inch) along the walls to accommodate natural wood movement caused by temperature and humidity changes.
Start by positioning the first row of planks along the longest wall. Place spacers between the planks and the wall to maintain the expansion gap. Nail the planks through the tongue at a 45-degree angle, ensuring the nails remain concealed. Verify that the first row is perfectly straight, as it serves as the foundation for the entire floor. Taking extra care at this stage will help ensure a flawless finish.
As you continue installing the rows, connect the tongue and groove edges of the planks. To create a visually appealing pattern, stagger the seams by cutting some planks into varying lengths. Secure each plank with a flooring nailer or stapler, checking alignment frequently to maintain a consistent and polished look. This step may require patience, but the effort will be evident in the final result.
After all the planks are in place, remove the spacers and install baseboards or quarter-round molding to conceal the expansion gap. Reattach any doors removed earlier, ensuring they open and close smoothly over the newly installed flooring. Finally, clean the floor using a soft broom or vacuum to eliminate any dust or debris from the installation process.
Installing hardwood flooring is a rewarding home improvement project that can dramatically enhance your living space. By taking the time to prepare properly and following these steps, you’ll create a stunning hardwood floor that adds both beauty and value to your home for years to come.
Other Vinyl Plank Flooring Tips: