Call Us Today For A Free Consultation: 615-525-8464
Cutting vinyl flooring is a crucial step in ensuring a seamless and professional-looking installation. Whether you’re a DIY enthusiast or a homeowner tackling renovations, understanding how to handle this versatile material can make all the difference. With guidance and the right tools, you can master the process. Let’s explore how to approach this task effectively, starting with the fundamentals and working through advanced techniques. For those seeking flawless results, working with a trusted flooring contractor can also offer peace of mind.
Having the right tools on hand is the first step toward successful vinyl flooring installation. Essential tools include a utility knife, a straightedge ruler, a tape measure, and a pencil for marking. If your project involves intricate or curved cuts, consider using a jigsaw or heavy-duty scissors. Remember to prioritize safety by wearing gloves to protect your hands from sharp edges and blades.
Begin by carefully measuring the space where the vinyl flooring will be placed. Accurate measurements are key to ensuring a perfect fit. Use a tape measure to capture precise dimensions and mark the cutting lines on the back of the vinyl using a pencil or chalk. Double-check these measurements before proceeding to minimize errors that could impact the final outcome.
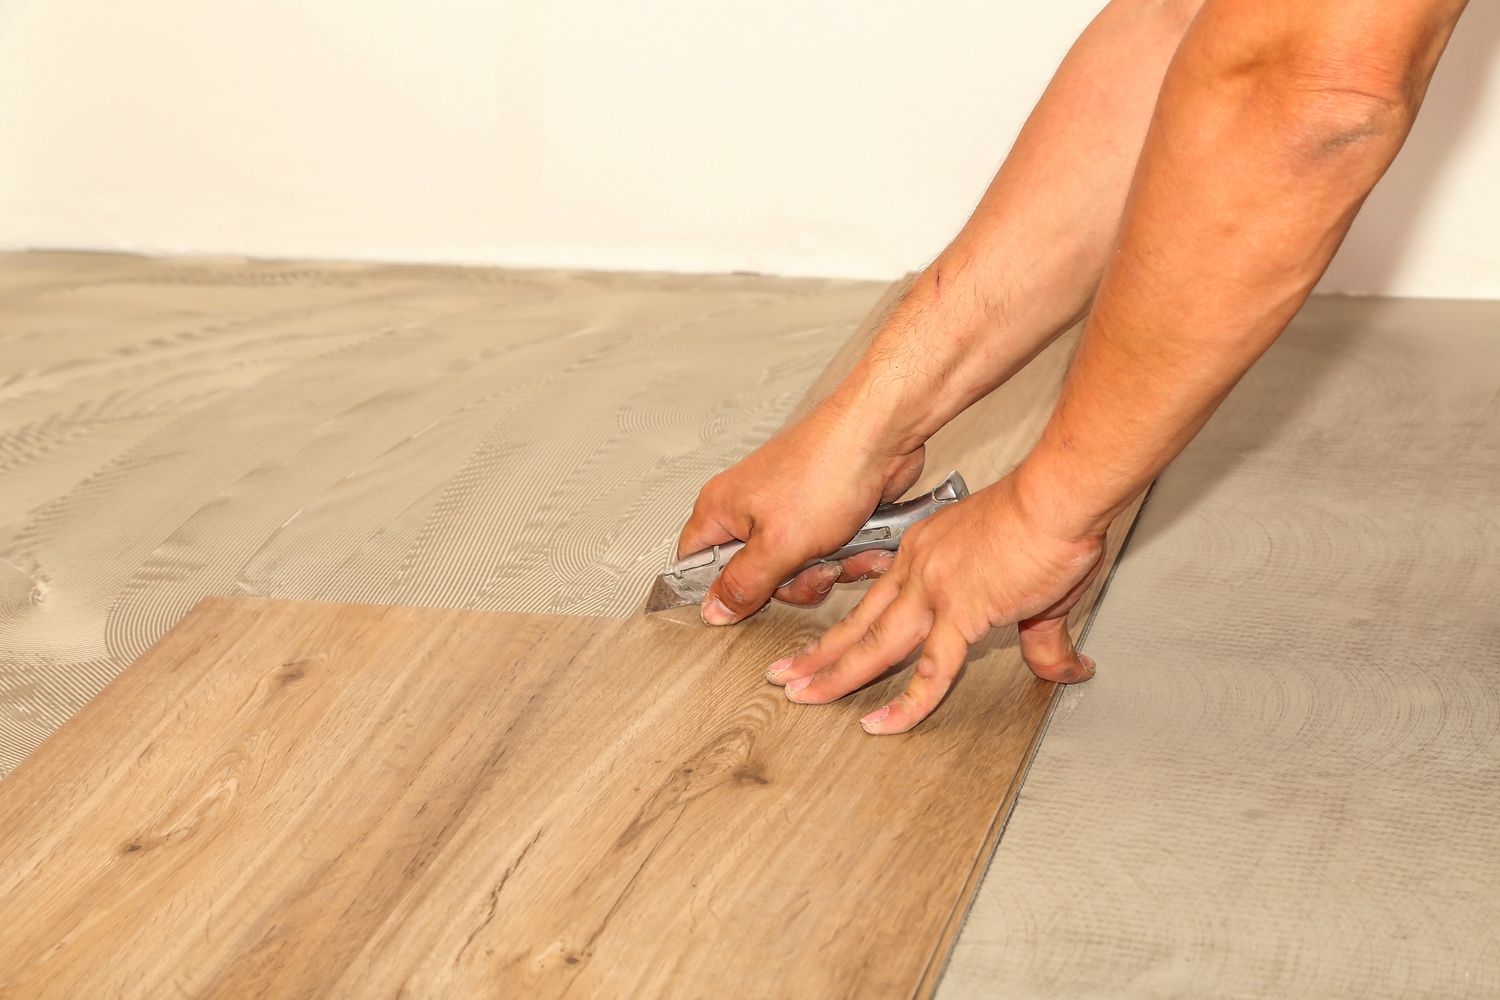
Straight cuts are one of the most common tasks when working with vinyl flooring. Lay the vinyl sheet or plank on a stable, flat surface. Position a straightedge ruler along the marked cutting line and use a utility knife to score the vinyl with consistent pressure. For thicker materials, you may need to run the blade over the line multiple times to ensure a clean cut. Once scored, gently bend the vinyl along the line until it snaps into two pieces. This technique provides sharp, precise edges for clean installation.
When your flooring project involves areas with curves or irregular shapes, such as door frames or fixtures, precision becomes even more critical. For such cuts, a jigsaw or a pair of heavy-duty scissors can be invaluable. Follow your markings slowly and methodically to maintain control and achieve accurate results. A jigsaw is especially effective for thicker vinyl or complex shapes, allowing for greater detail and precision.
Once your vinyl piece is cut, position it in the intended space to verify the fit. Testing the placement allows you to identify any adjustments that may be necessary. If the piece doesn’t align perfectly, use a utility knife or scissors to trim small sections incrementally. Be mindful to leave a slight gap at the edges to account for potential expansion due to temperature fluctuations. This precaution prevents buckling and ensures long-term durability.
After ensuring the vinyl fits as intended, inspect the edges for any rough or uneven areas. Smooth out imperfections using fine-grit sandpaper or a file. This final step enhances the appearance of the flooring and ensures that adjacent pieces align seamlessly. Taking the time to perfect these details contributes to a polished and professional finish.
Cutting vinyl flooring doesn’t have to be a daunting task. With careful preparation, accurate measurements, and the right tools, the process becomes straightforward. Whether you’re tackling a small project or a larger installation, mastering these techniques will help you achieve a high-quality result. Should you require additional expertise, a trusted flooring contractor can provide valuable assistance to ensure your flooring project is completed to perfection.
Other Vinyl Plank Flooring Tips:
Licensed, Bonded, Insured.