

Call Us Today For A Free Consultation: 615-525-8464
When it comes to painting wood, proper preparation is the key to achieving a smooth, long-lasting finish. Comprehensive painting solutions start with a well-prepped surface, ensuring that paint adheres evenly and resists peeling over time. Cleaning, sanding, and priming are all crucial steps in creating a professional-looking result. While knots and grain patterns can sometimes cause issues, the right techniques can help you overcome these challenges. Let’s go over the essential steps to get your wood ready for a flawless paint job.
Before applying paint, it’s important to remove dust, dirt, and other contaminants that could affect adhesion. Use a mild detergent mixed with water to clean the surface thoroughly. Dip a soft cloth or sponge into the solution and wipe the wood along the grain, making sure to reach corners and grooves where debris often collects. Rinse the surface with a clean, damp cloth to remove any soap residue, then let the wood dry completely before moving on to the next step.
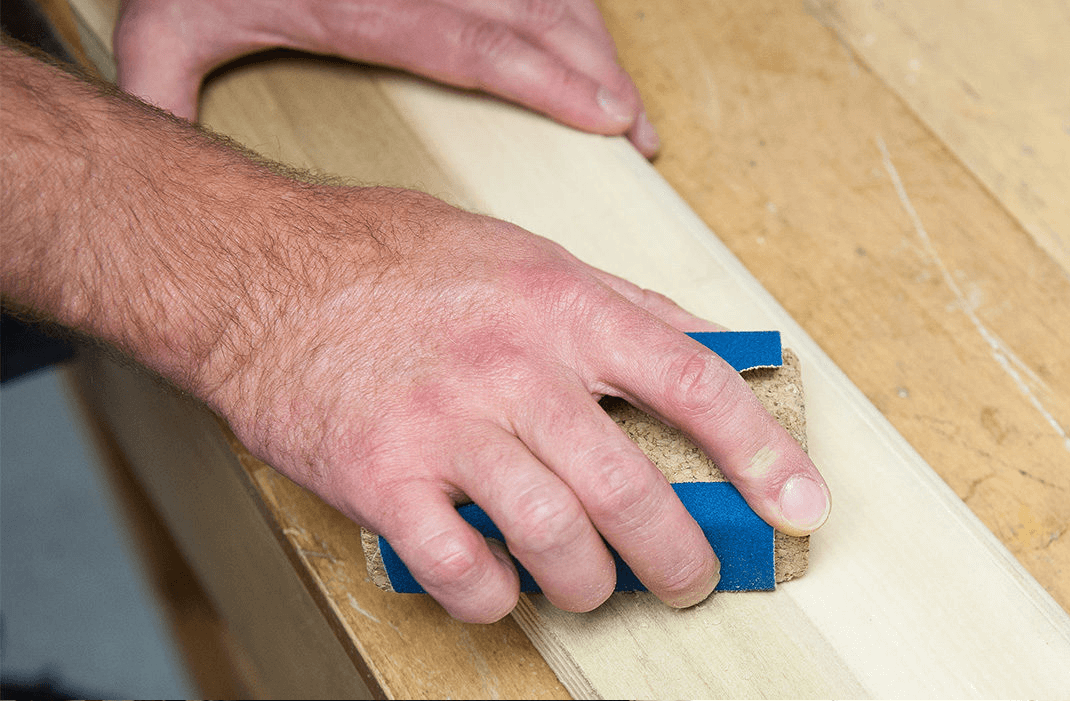
Sanding plays a crucial role in preparing wood for painting. Using fine-grit sandpaper, such as 120 to 150-grit, smooth out any rough areas or old paint. Always sand in the direction of the grain to avoid scratches and uneven spots. Once the initial sanding is complete, switch to a finer grit, like 180 to 220, for an even smoother surface. This step helps the primer and paint bond effectively, ensuring a clean, polished result. Take extra care around edges and corners to maintain a professional finish.
A high-quality primer is essential for sealing the wood and providing a stable base for paint. Before applying, stir the primer thoroughly to maintain consistency. Using a brush or roller, spread an even coat over the entire surface, following the wood grain. If you’re unsure about the best products or techniques, consulting experienced painting contractors in Nashville can help ensure optimal results. Allow the primer to dry completely, as rushing this step can lead to uneven coverage. While a single coat is usually sufficient, a second layer may be necessary for highly porous wood or surfaces with stains. Proper priming enhances paint adhesion and extends the durability of the final coat.
Selecting the right type of paint ensures a durable and visually appealing finish. Acrylic latex paint is often preferred for wood surfaces due to its flexibility, easy cleanup, and low odor. For a high-gloss appearance, oil-based paints provide a sleek, polished look, though they take longer to dry. Water-based paints, known for their quick drying time and eco-friendly properties, work well for indoor projects. If painting an exterior surface, opt for weather-resistant paints that can withstand harsh conditions. Always check the manufacturer’s recommendations to confirm the paint is suitable for wood.
To protect and extend the life of your painted wood, applying a sealant is a smart final step. Once the paint has dried completely, choose a sealant that complements the type of paint used. Water-based sealants pair well with latex paints, while oil-based sealants are best for oil-based finishes. Apply an even coat using a brush or roller, following the wood grain to achieve a uniform finish. Allow the first layer to dry fully before applying a second coat for added protection. Routine maintenance, such as resealing when necessary, will help keep the wood looking fresh and well-preserved.
Other Related Tips: