Call Us Today For A Free Consultation: 615-525-8464
When removing tile flooring, proper preparation, tools, and techniques are essential to ensure an efficient and damage-free process. As a remodeling company in Nashville, we specialize in guiding homeowners through the steps of safely breaking up tiles, removing adhesive, and cleaning the subfloor. This comprehensive guide will walk you through everything you need, from essential tools to final cleanup, ensuring a smooth tile removal process that prepares your space for the next project.
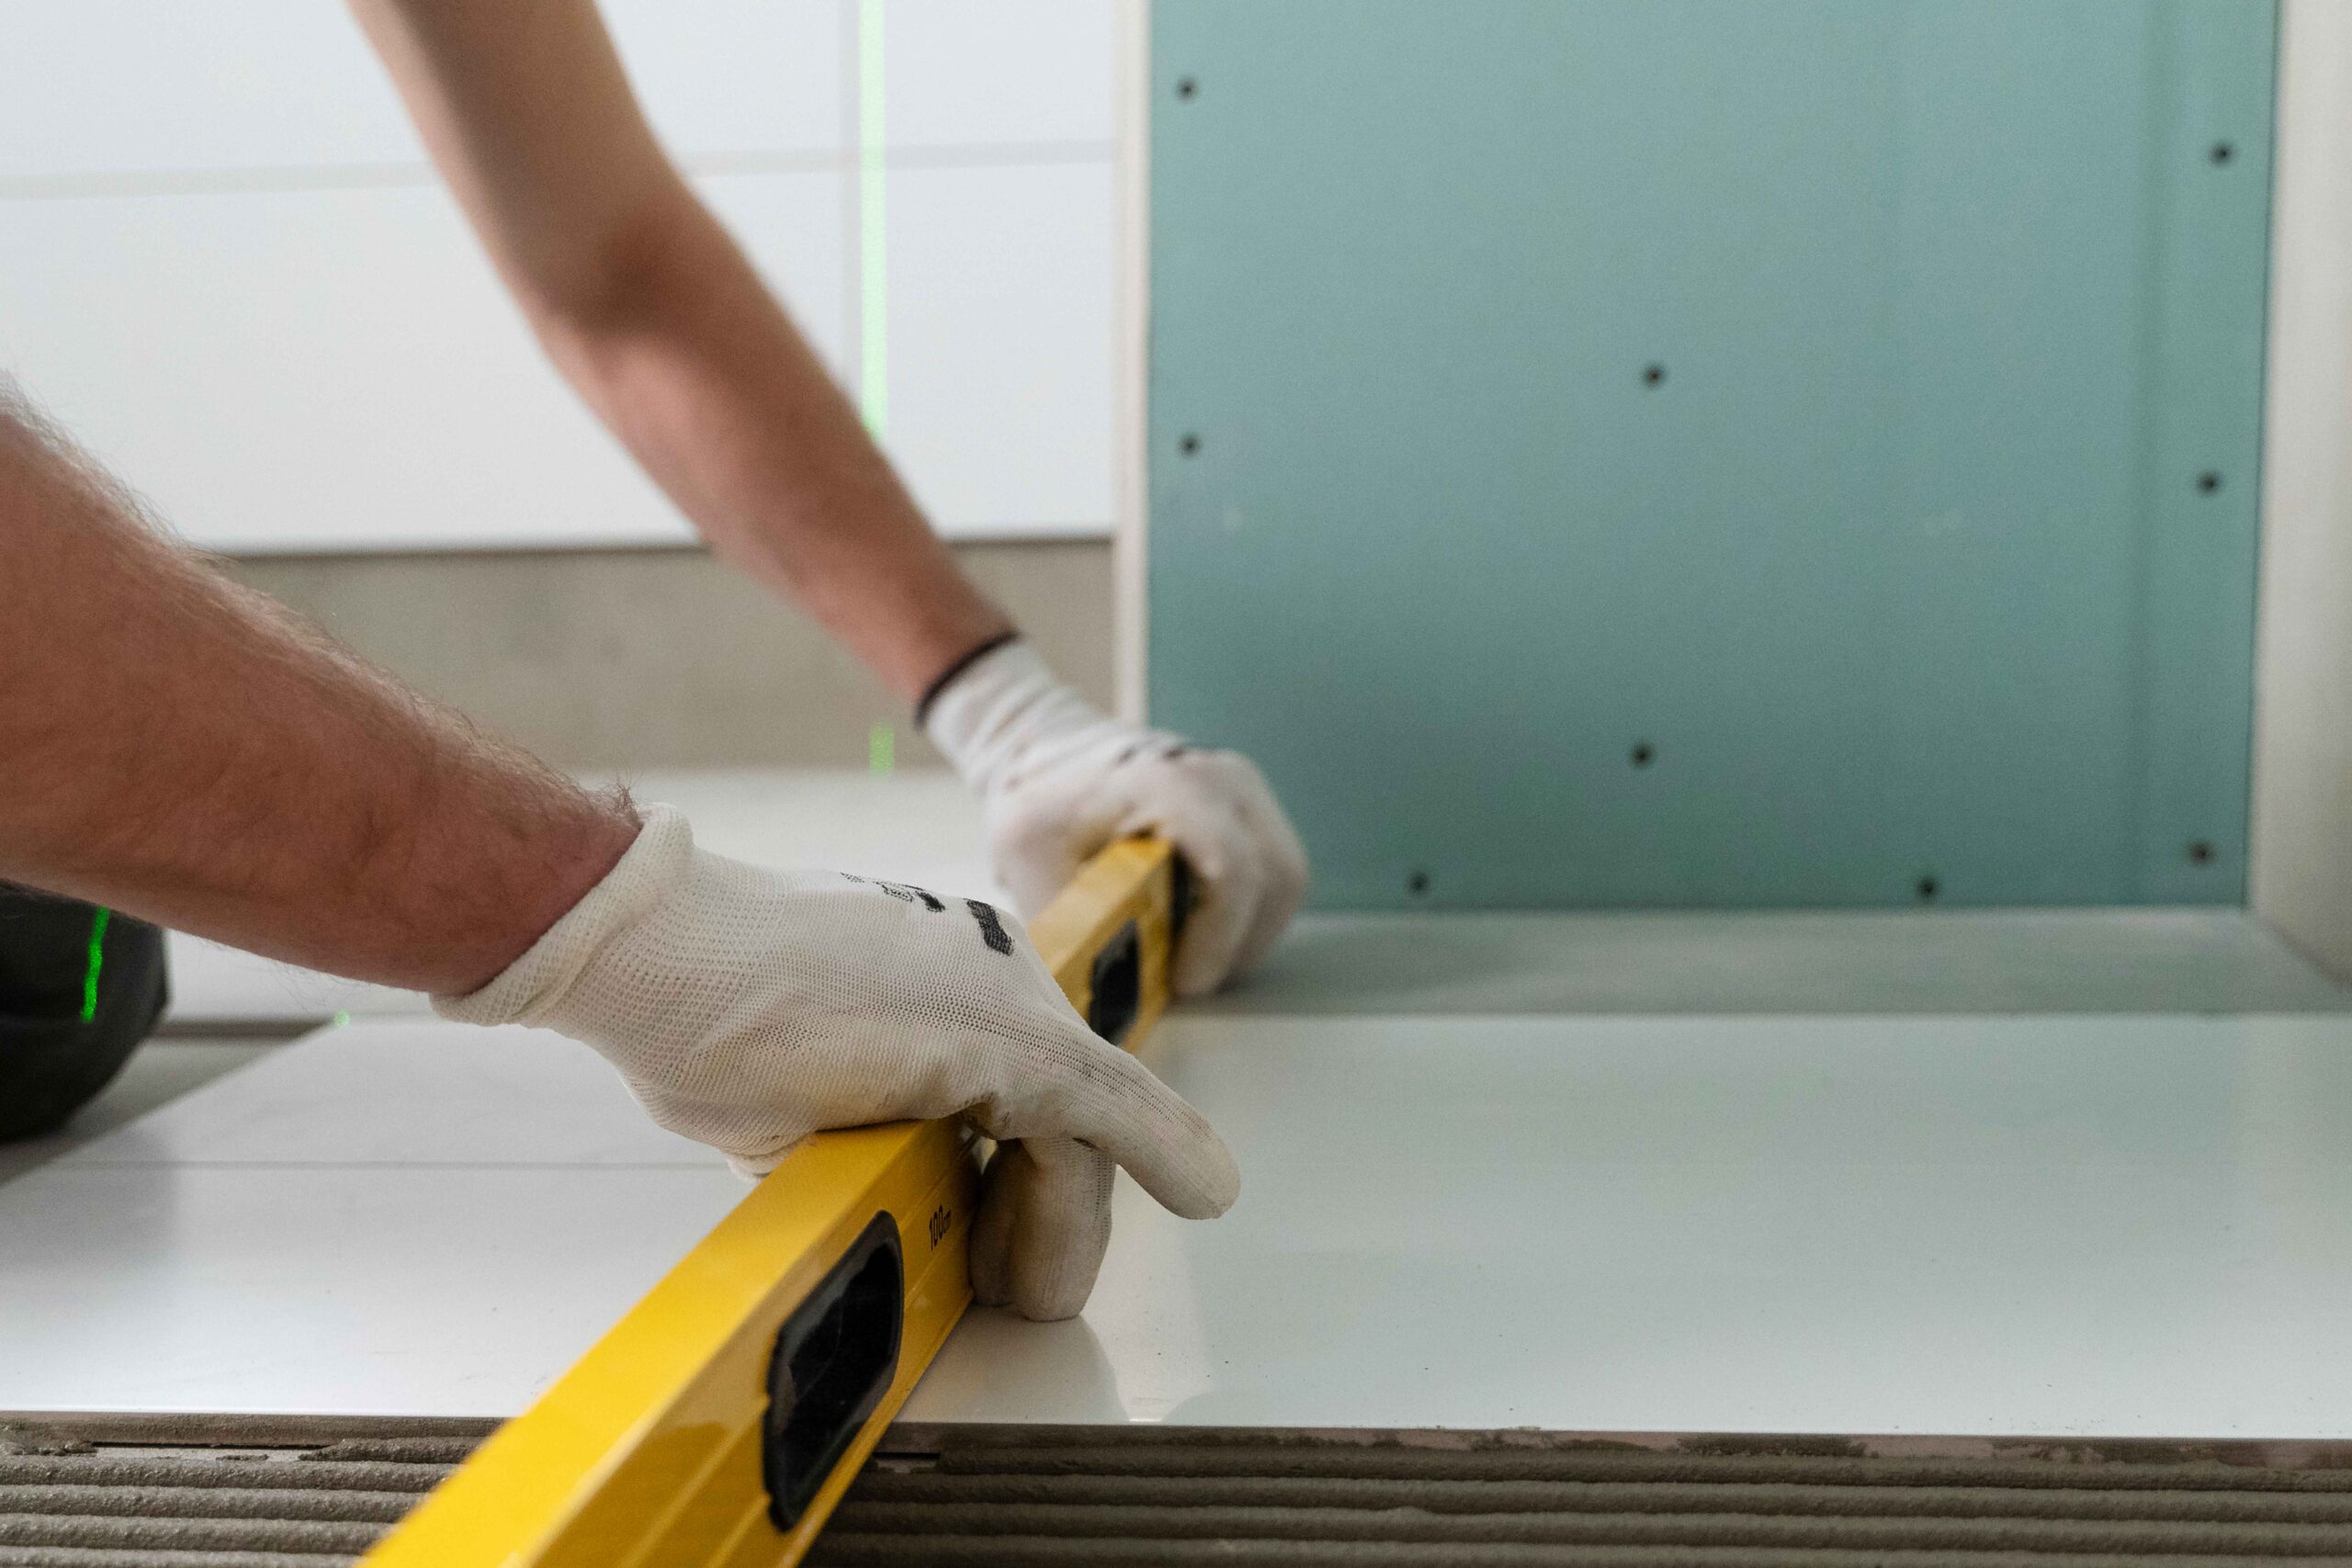
To remove a tile floor efficiently, you will need specific tools and materials designed for the task. Required tools include a heavy-duty hammer, cold chisel, pry bar, safety goggles, work gloves, dust mask, and a shop vacuum. These tools are essential for breaking up tiles, removing grout, and lifting both the tiles and adhesive from the subfloor. Additional materials, such as a floor scraper, adhesive remover, and a debris container, are vital for successful tile removal. Ensure all tools and materials are of high quality to speed up the process and avoid unnecessary damage to the subfloor or surrounding areas.
Before beginning the tile removal process, it’s crucial to thoroughly prepare the area to ensure the project runs smoothly and safely. Start by removing all furniture, appliances, and other items that could obstruct the process. Cover vents, doorways, and openings with plastic sheeting to prevent dust from spreading. Wear proper safety gear—such as goggles, gloves, and a mask—to protect yourself from hazards like flying tile shards and dust. Also, gather all necessary tools and materials beforehand to avoid interruptions. Proper preparation is essential for a smooth and efficient tile removal job.
Once you’ve prepared the area, the next step is to break up the tiles efficiently and safely. Follow these key steps:
Removing adhesive and grout is essential to achieving a smooth, clean surface for the next steps. Begin by using a heat gun or adhesive remover to soften the adhesive. Once it’s softened, carefully scrape it away with a putty knife or floor scraper. For grout, use a grout saw or rotary tool to break it up. Work methodically to avoid damaging the subfloor. If you’re already working with painting contractors in Nashville for a remodel, coordinating schedules for flooring and wall prep can help streamline the entire renovation. After removing the adhesive and grout, thoroughly clean the area to ensure no residue remains. A clean surface is critical for the success of the new flooring installation.
Once the adhesive and grout have been removed, focus on cleaning up the area and completing the final steps to ensure a successful tile floor removal process.
Other Bathroom Remodeling Tips:
Licensed, Bonded, Insured.