

Call Us Today For A Free Consultation: 615-525-8464
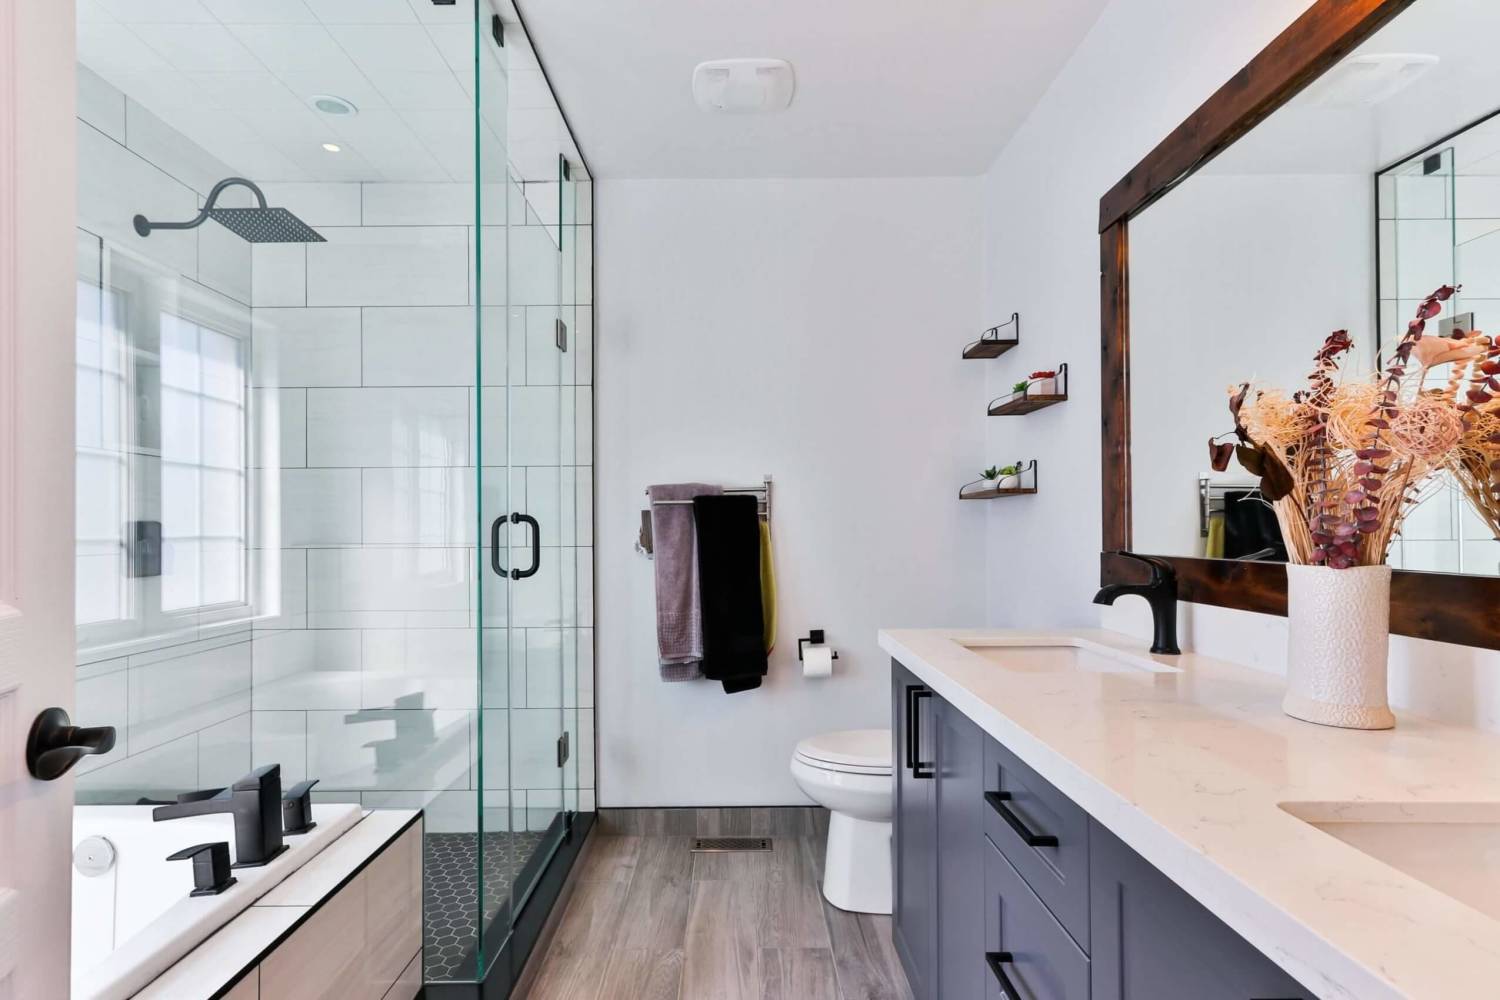
Precision, patience, and attention to detail are essential when embarking on a professional home remodeling project like tiling a shower. From meticulously preparing the surface to strategically planning the layout of the tiles, each step is critical to achieving a polished and functional end result. However, the true craftsmanship shines in the cutting and setting of the tiles, where steady hands and an eye for symmetry are paramount. As we delve into the intricate process of grouting and apply the final touches of sealing, the secrets to a flawless shower tile installation gradually unfold, showcasing the mastery behind this indispensable skill in professional home remodeling.
Proper surface preparation is essential for ensuring the successful installation of tiles in a shower. Before laying tiles, it is crucial to start with a leveled subfloor. Any imperfections in the subfloor must be addressed through proper leveling to prevent future tile cracks or misalignment. Priming the wall surface is also necessary to create a suitable tile adhesion base and avoid moisture penetration. Installing a waterproofing membrane is a crucial step to protect the structure behind the tiles from water damage. When applying tile adhesive, ensure that you follow the manufacturer’s instructions meticulously to guarantee a strong bond between the tiles and the surface. By meticulously following these steps, you set the foundation for a durable, visually appealing tiled shower.
When planning the layout for tiling a shower, meticulous attention to detail is crucial to ensure a visually appealing and structurally sound installation.
To achieve a seamless and polished finish when tiling a shower, the process of cutting and setting tiles requires precision and attention to detail. When it comes to cutting techniques, using a tile cutter is ideal for straight cuts, while a wet saw is suitable for curves or notches. Measure twice and cut once to ensure accuracy. Setting methods involve applying thin-set mortar evenly on the surface using a notched trowel. Press the tile firmly into place, ensuring it aligns with the layout plan. Spacers can help maintain consistent gaps between tiles. Use a level frequently to check for uniformity. Allow the mortar to set before grouting to guarantee a sturdy and visually appealing tile installation.
The grouting process plays a crucial role in completing the tiling of a shower with finesse and durability. When grouting a shower, consider the color option, cleaning, and maintenance, and ensure that the grout lines are filled evenly.
The sealing process and final touches are pivotal in ensuring the tiled shower’s durability and aesthetics for a polished and long-lasting finish. After allowing the grout to cure completely, it’s essential to seal the grout lines to protect them from mold, mildew, and staining. Use a silicone-based sealer for best results, applying it carefully and wiping off any excess. Caulking corners is another crucial task to prevent water from seeping behind the tiles and causing damage. Use a mold-resistant silicone caulk to seal the corners effectively. Finally, ensure a pristine appearance by cleaning grout lines thoroughly with a grout cleaner and brush. This meticulous attention to sealing and finishing touches will enhance your tiled shower’s longevity and visual appeal.