

Call Us Today For A Free Consultation: 615-525-8464
Let’s talk about the common household task of fixing a hole in drywall. We’ve all been there – a random accident creates an eyesore on an otherwise pristine wall. Whether you’re preparing for a home remodel in Oak Hill, TN or simply addressing everyday wear and tear, knowing how to patch drywall is a valuable skill for any homeowner. With just a few tools and materials, you’ll be surprised at how easily you can handle this repair. The step-by-step process below will have your wall looking as good as new in no time.
To successfully mend a hole in drywall, gather the following tools and materials. You will need a putty knife, sandpaper, spackling compound, a drywall patch or mesh tape, a utility knife, a sanding block, and paint. The putty knife is essential for applying the spackling compound and smoothing it out. Sandpaper helps you achieve a polished finish once the spackling compound dries. The drywall patch or mesh tape covers the hole securely. A utility knife helps cut the patch or tape to the necessary size. A sanding block ensures the repaired area blends seamlessly with the rest of the wall. Lastly, have paint on hand to match the wall’s color for a flawless finish.
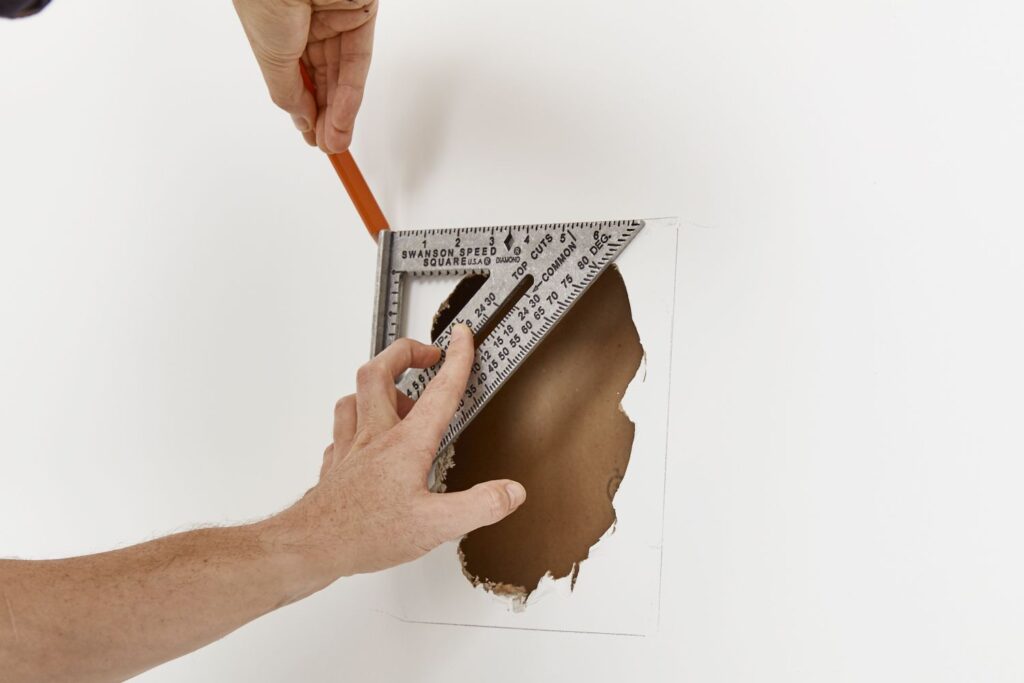
Before starting the repair, accurately measure the dimensions of the hole in the drywall. Use a measuring tape to determine both the length and width of the hole. Record these measurements carefully to ensure precision for a successful patch. Also, consider the depth of the hole by gently probing it with a pencil to gauge how far back the damage extends. Understanding the size of the hole is crucial for selecting the appropriate patching materials and techniques. Take your time with this step to avoid errors that could complicate the repair process later on.
Clear the area around the hole by removing any debris or loose drywall particles. Start by gently scraping off any loose material using a putty knife or sandpaper. Make sure the edges of the hole are smooth and free of protruding fragments. Next, wipe down the area with a damp cloth to remove dust and dirt. If there are any nails or screws sticking out, carefully push them below the surface using a hammer or screwdriver. Creating a clean and even surface allows the patching compound to adhere properly. Taking time to prepare the area meticulously sets the stage for a successful and seamless drywall repair.
Start fixing the hole by applying the patching material. Scoop a small amount of compound onto a putty knife. Press the material into the hole, ensuring it fills the space completely without overfilling. Use the knife to smooth the surface, making it level with the rest of the wall. Apply gentle pressure to remove any excess material. Allow the substance to dry according to the manufacturer’s instructions. Once dry, check if a second layer is needed for a smooth finish. The key is applying thin layers, gradually building up the patch until it integrates seamlessly with the surrounding wall.
To achieve a smooth and seamless finish, the next step involves sanding the patched area and applying the final touches.
Other Related Tips: