Call Us Today For A Free Consultation: 615-525-8464
Taking on a bathroom remodel yourself can be one of the most rewarding home improvement projects you’ll ever tackle. Whether you’re undertaking major home remodeling in Oak Hill, TN, or simply updating a single bathroom, this guide provides the essential steps needed for success. This comprehensive guide covers everything from initial planning to final touches, helping beginners navigate the complexities of bathroom remodeling with confidence and achieve beautiful, functional results.
Begin your bathroom remodel by carefully planning every detail of the project before starting any work. Take the time to analyze your current bathroom layout and consider what changes will enhance both its function and appearance. Measure everything carefully, including walls, windows, doors, and existing fixtures, to create an accurate floor plan. Consider how you use the space daily and what improvements would make the biggest difference in your routine. Research current bathroom trends and technologies, focusing on features that truly align with your lifestyle and budget. Create a detailed plan that includes exact measurements, a comprehensive list of all necessary materials, and a realistic timeline for completing each phase of the work. If your plans involve relocating plumbing or electrical lines, consult with professionals to ensure your ideas comply with local building codes and safety requirements.
Create a detailed budget that covers all aspects of your bathroom remodel to avoid financial surprises during the project. Start by researching average costs for labor, materials, and fixtures in your area to get realistic price expectations. Break down your budget into categories like flooring, fixtures, plumbing, electrical work, paint, and accessories. Set aside a contingency fund of 15-20% of your total budget to cover unexpected problems, such as water damage or outdated wiring, that may arise during demolition. Decide which tasks you can handle on your own and which ones require professional assistance, as labor costs can significantly impact your budget. Look for ways to save money, such as retaining existing plumbing locations or opting for mid-range materials that offer good quality without premium prices. Remember to include costs for permits, tool rentals, and disposal fees in your calculations.
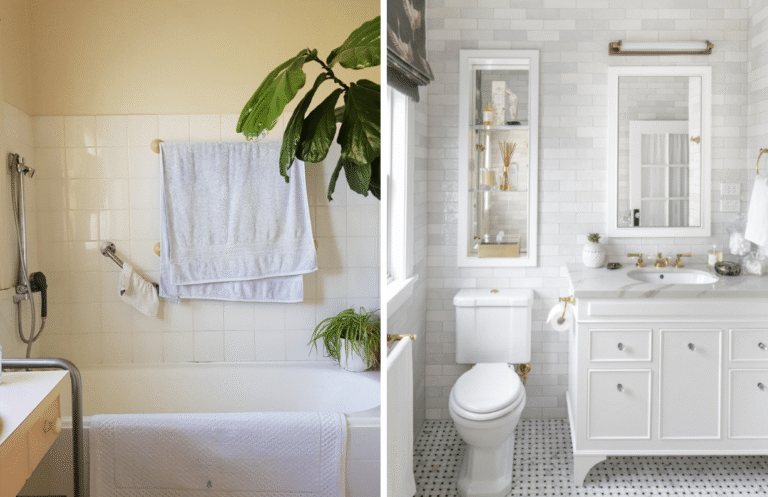
Select high-quality, moisture-resistant materials that will withstand daily use and bathroom humidity for years to come. Prioritize durability over initial cost savings, as quality materials prevent costly repairs and replacements down the road. For flooring and shower areas, select porcelain or ceramic tiles that resist water damage and are easy to clean and maintain. For countertops, quartz and granite offer excellent durability and water resistance, while laminate provides a budget-friendly option that still looks attractive. When choosing cabinetry, opt for solid wood or high-quality plywood construction rather than particleboard, which can swell and deteriorate in humid conditions. Select plumbing fixtures and hardware made from durable materials, such as brass, stainless steel, or high-quality chrome, that resist corrosion and maintain their appearance over time.
Approach demolition systematically and safely to prepare your bathroom for renovation while protecting yourself and your home. Before starting any demolition work, turn off water supply lines and electrical power to the bathroom to prevent accidents and water damage. Remove fixtures and materials in the reverse order of how they were installed, typically starting with accessories, then fixtures, and finally flooring and wall materials—work from top to bottom to avoid damage to areas you want to keep. Wear appropriate safety equipment, including safety glasses, work gloves, dust masks, and sturdy work boots throughout the demolition process. Rent a dumpster or arrange for debris removal before you start, as bathroom demolition creates more waste than most people expect. After demolition, inspect walls and subfloors for damage, rot, or outdated systems that need repair before installation begins.
Follow a logical sequence when installing new materials and fixtures to ensure professional results and avoid redoing completed work. Complete all rough plumbing and electrical work first, ensuring that everything meets local building codes and passes the required inspections. Install new subflooring if necessary, then proceed to wall preparation and waterproofing in wet areas. When you’re ready for tile installation, follow these key steps for best results:
Install the bathtub or shower enclosure next, followed by vanity cabinets and countertops. Connect plumbing fixtures, such as toilets, sinks, and faucets, and test all connections for leaks. Complete electrical work by installing light fixtures, exhaust fans, and outlets. Finish with painting and installing mirrors, towel bars, and other accessories that complete your new bathroom’s functionality and style.
Other Related Tips:
Licensed, Bonded, Insured.